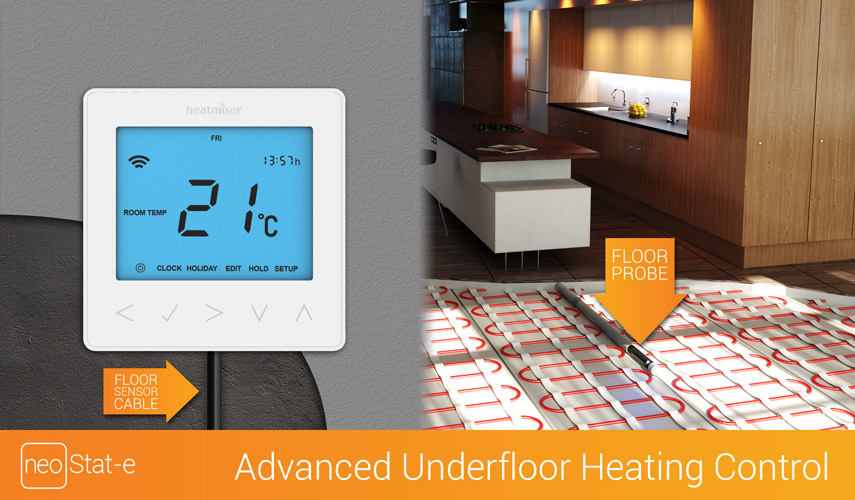
In September, I received my floor thermostat from Heatmiser, neoKit-e. I replaced my old standard bathroom thermostat with my new neoStat-e, here in Norway.
I have had some positive experience with the heatmiser thermostat earlier, as my brother has two of them on his cabin in Sweden.
The heatmiser neoStat is a “smart” thermostat that can be controlled by your phone and you can set up schedule-profiles for every day.
I ordered the thermostat directly from the Heatmiser webshop: http://www.heatmisershop.co.uk/.
Different types of devices
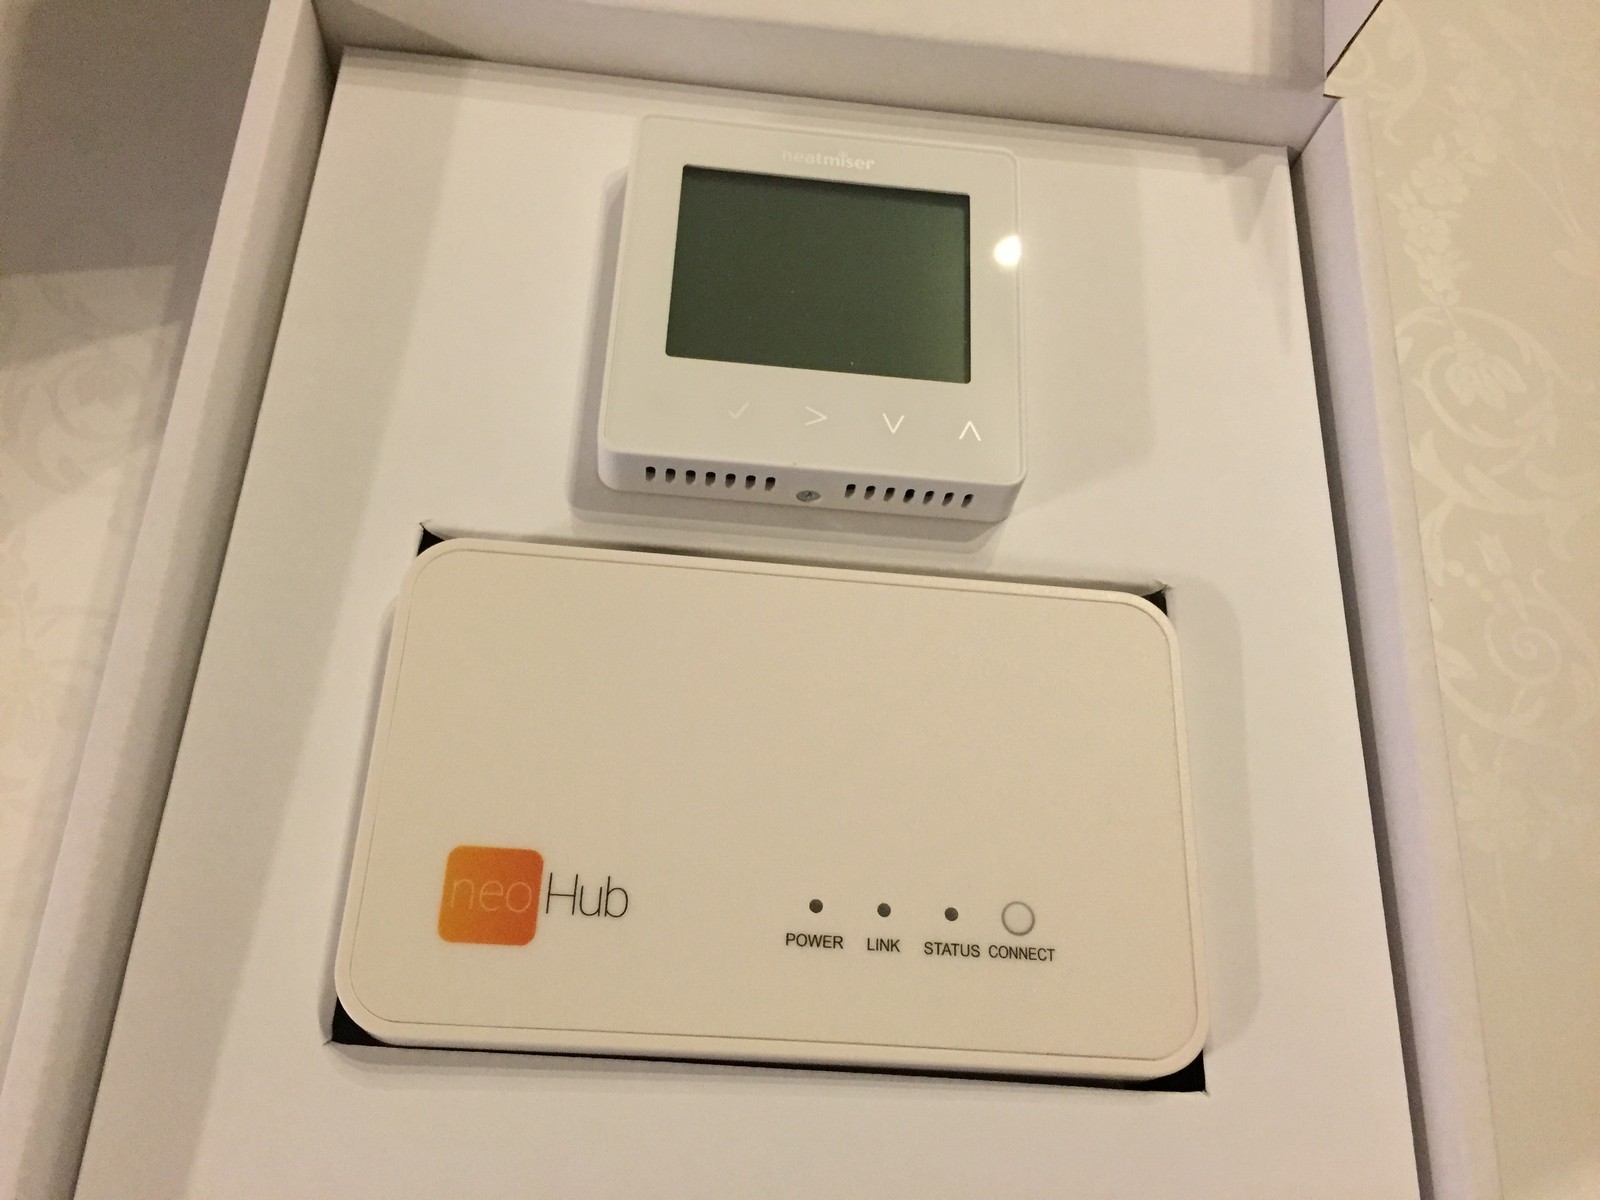
I ordered the neoKit-e with the neoHub and neoStat-e included.
neoHub – connects to your home network with a default Ethernet/network cable. This is the “link” between your thermostat and your phone/remote control.
neoStat – The thermostat itself, with only Air-sensing.
neoStat-e – The “e” means that it can also use floor-sensing. With the “e” version, you can select if you want to measure temperature from the air or a floor-probe.
In the shop you have a lot more, like:
- Different colors: Silver, White and Black.
- Kit with one or two neoStat’s.
- Single thermostats (if you already have the neoHub, or don’t want to use the remote control feature).
- Repeater (if the range is to long from your neoHub).
- Etc…
Unboxing and mounting
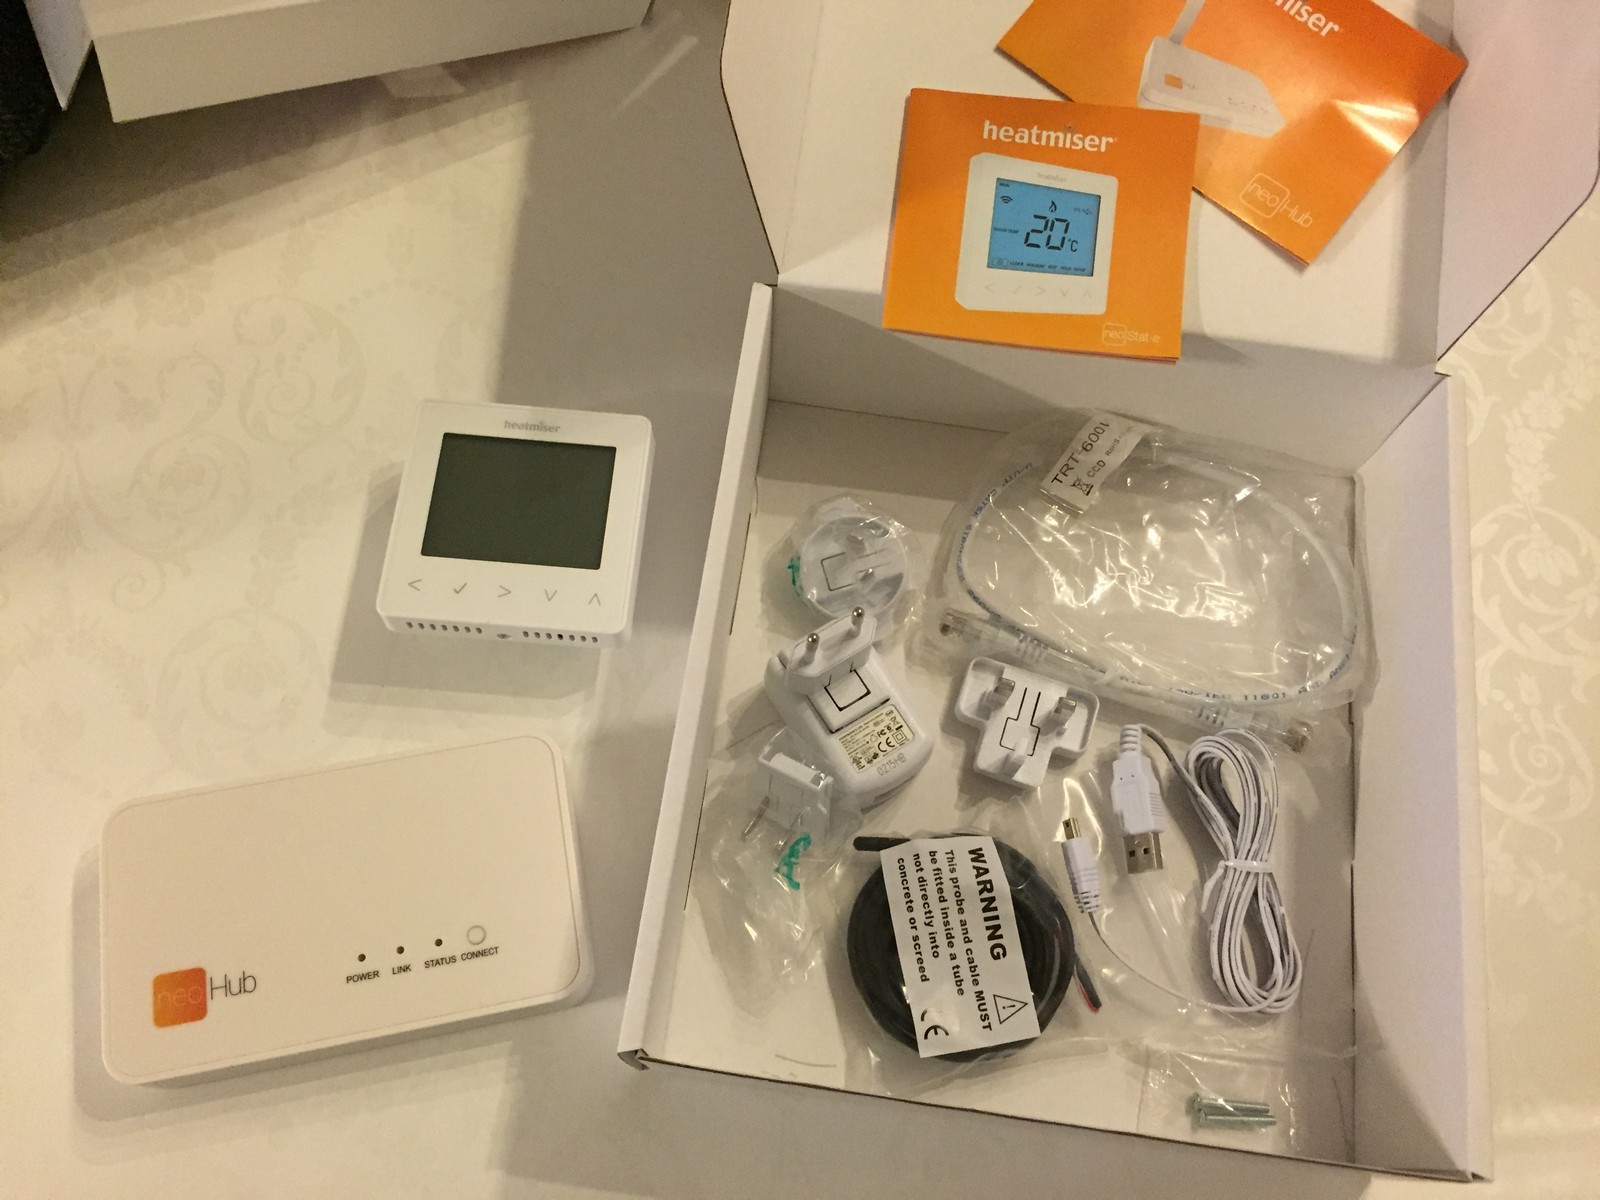
The Kit includes everything you need:
- Thermostat
- Floor-probe
- neoHub for remote control
- Different power adaptors for the neoHub (UK/EU/Australian)
- Ethernet-cable for the neoHub
- Screws, manual, etc…
The manual is small, but has almost everything you need to know – like wire diagram if you need more information than the labels on the thermostat itself.

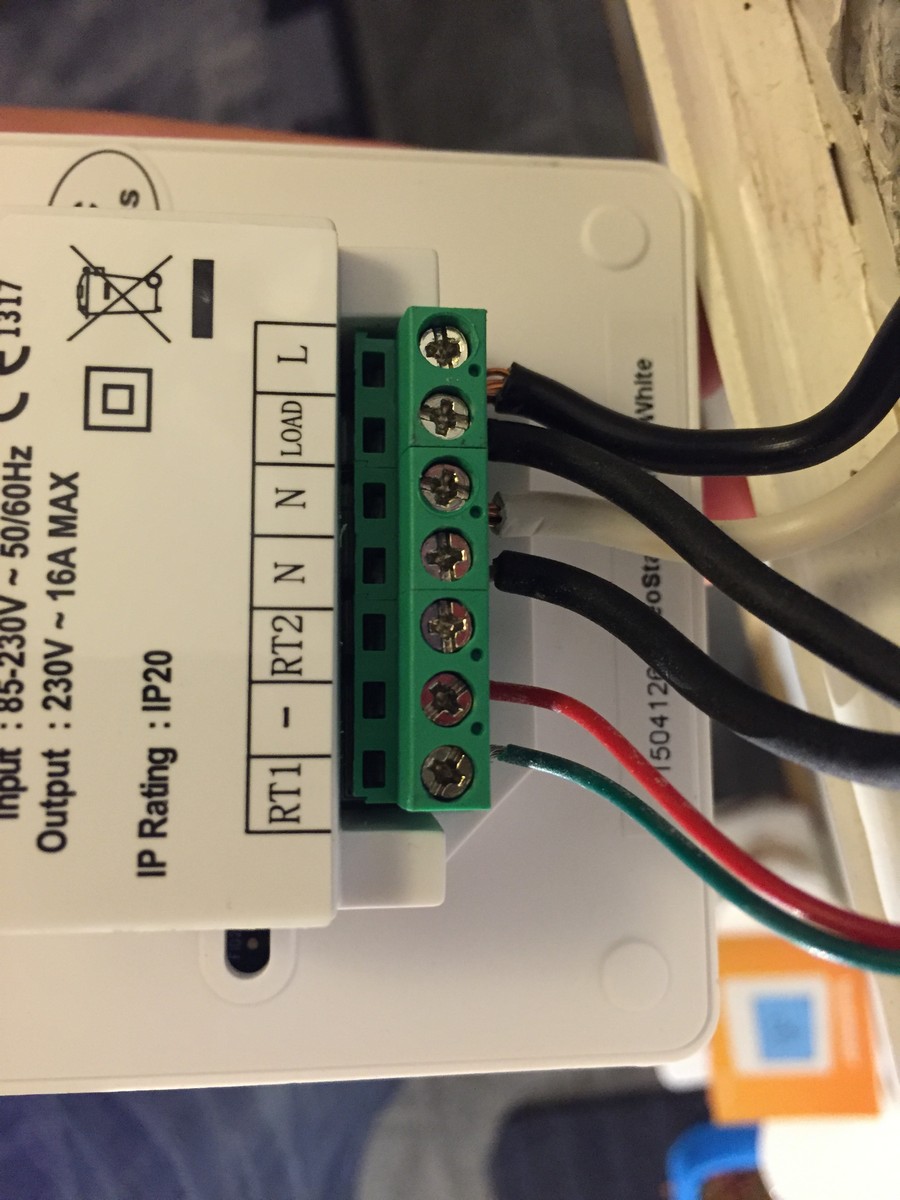
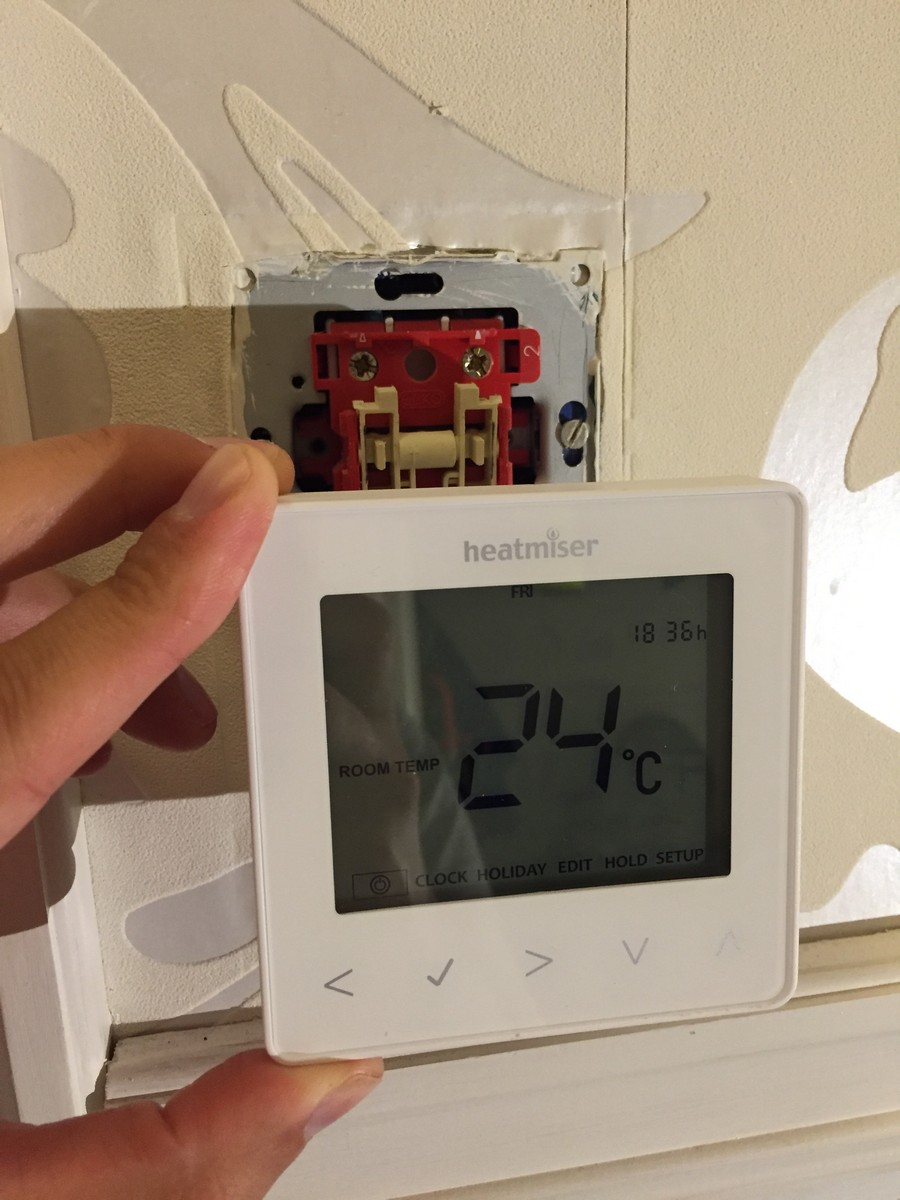
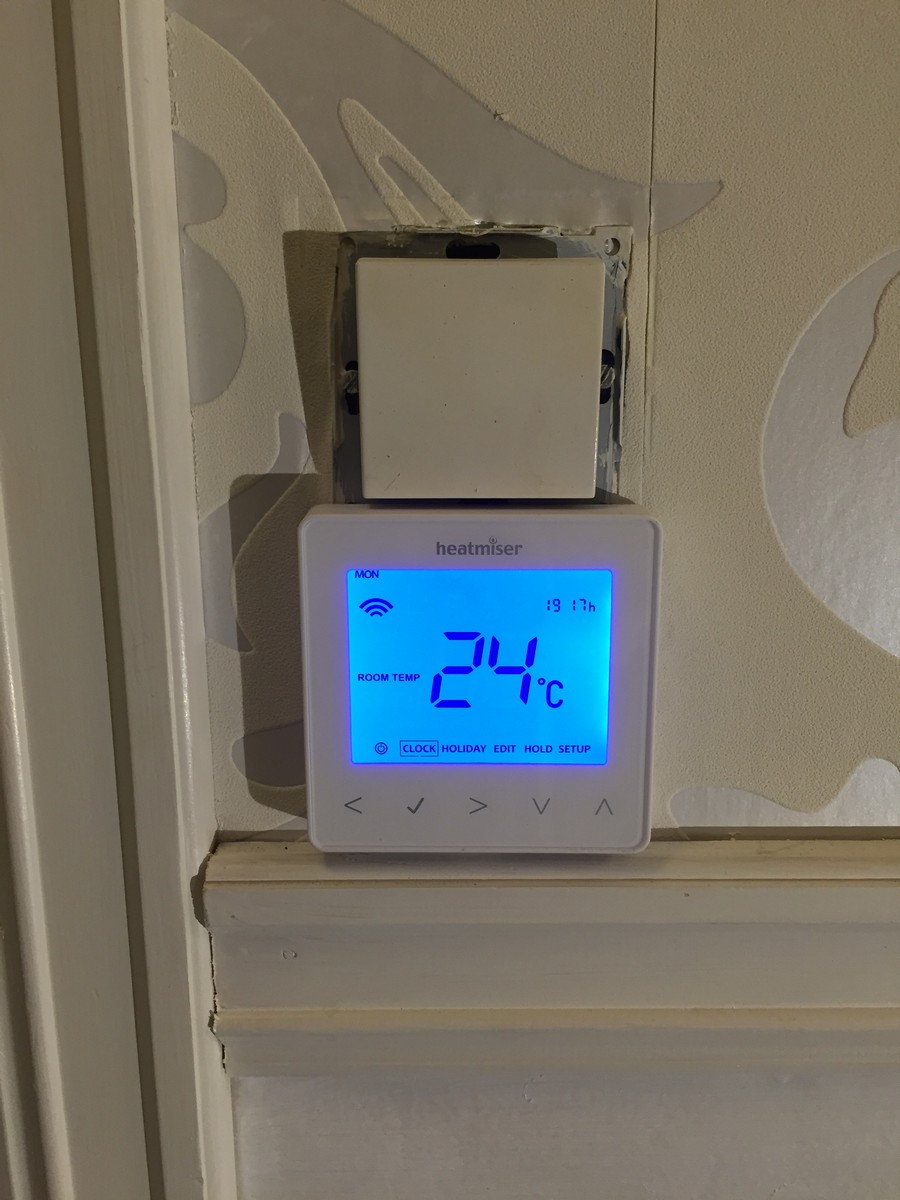
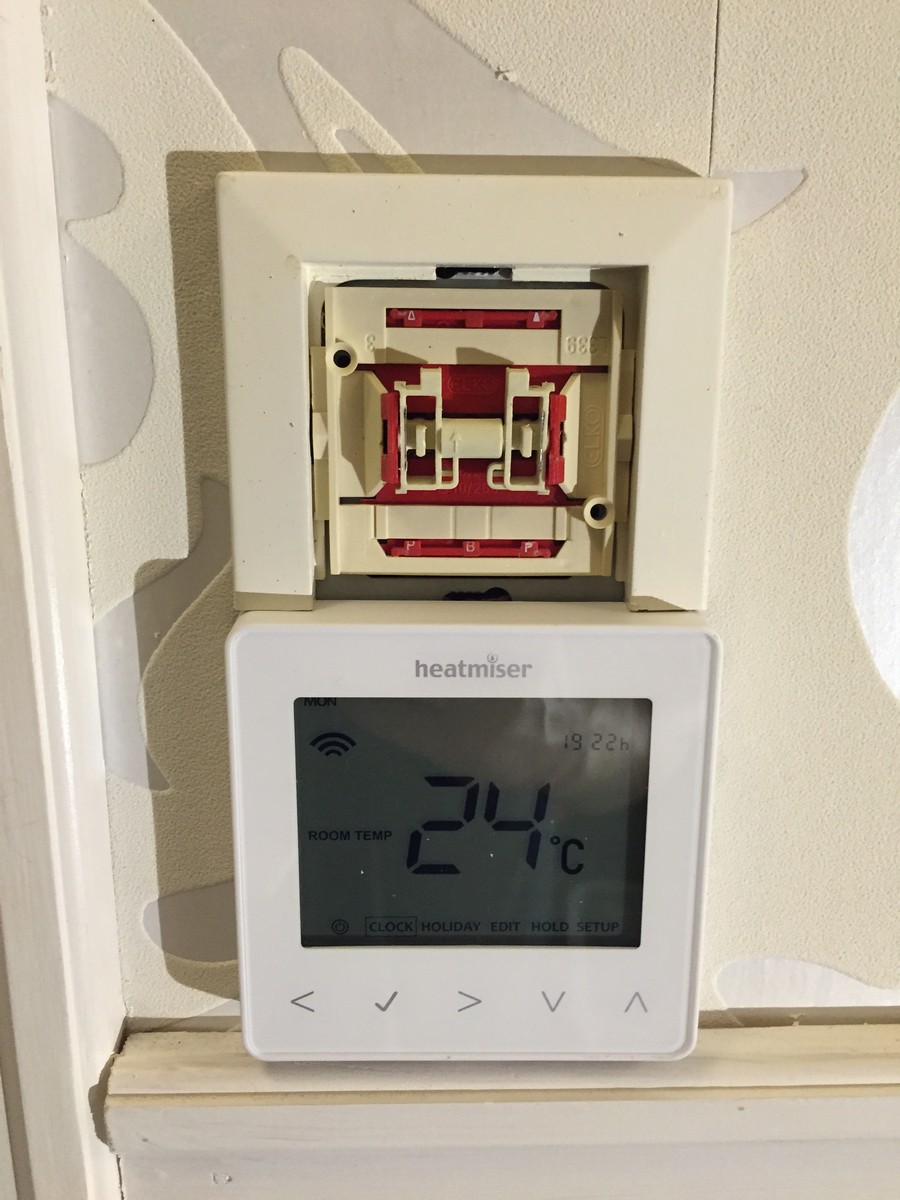
Replacing the thermostat with my old one, was pretty much moving the cables.
The biggest problem mounting it, was the fit in my frame. My old one was mounted in the same frame as my light-switch, outside of the bathroom door. The neoStat is somewhat bigger than the classic thermostat – so I had to improvise.

Using it and configure
Remember to select floor-sensor, if you have a floor-probe!
Right after I mounted my thermostat, I went on a weekend trip to Sweden. Happy as I was, I could see the temperature and control it from Sweden!
But after a day, I realized something was wrong. The temperature in my bathroom was around 30 Celsius. No matter what I adjusted the temperature to, it just would not go down. After a while, I understood that the neoStat was sensing the air-temperature and not using the floor-probe. As my thermostat was placed outside of the bathroom, it sensed the temperature in the hallway and therefore it was ON all the time…
Configure the thermostat to use the floor-probe was a little tricky
On page 13 in the manual, it’s looks like you can select between the room or floor temp by holding down left and right arrow in five seconds – but it just didn’t work.
At first I used the default floor-probe from the old thermostat. I thought maybe this old probe was incompatible with the neoStat, so I changed it with the one from the kit… But still the same problem.
On page 23, 24, 25 and 26 you have “Optional Features Explained”. These are numbered configuration you can adjust on your thermostat. The numbers are like codes and does not make any sense without the manual.
If I go into this configuration on the thermostat, I can browse to feature 6, which is sensor selection (described in the manual).
Re-calibrating the thermostat
In page 27 in the manual describe how to re-calibrate the thermostat. My thermostat was about 3-4 Celsius wrong, so I had to calibrate it by reading the actual temperature from another temperature sensor in the bathroom and select the current temperature on the neoStat.
Connecting and installing the app
The app can be downloaded from the app-store and has a pretty easy set-up guide. Mostly next, next, next.
The only thing is that it has multiple levels like location, zone, room, etc… If you have one thermostat, you don’t really need to segment this a lot. I don’t remember if I had to add a Zone or if I could jump over this step. But there is nothing you can do wrong anyway, so just try clicking 🙂
API
The heatmiser also have a public API and already have support for programs like openHab. Products with a public API is great, as third party applications can use this to control the products. This allows you to have a single program to control multiple/different brands or solutions in your home.
I haven’t had the time to look at the API yet, but I will probably post something new when I do.
Alternatives and conclusion
The heatmiser thermostat cost about the same as a classic “dumb” thermostat (maybe cheaper in some cases) – and it’s smart! The only thing is that you have to invest in the neoHub the first time.
After spending a lot of time searching for a smart classic thermostat out there on the Internet, there isn’t actually a lot of options. There is a lot of thermostat, like Nest’s – but the common thing for them all, is there is almost no information of how this thermostat can be integrated with your home.
Look at the Nest thermostat here: https://nest.com/blog/2015/11/24/better-temperature-control-better-thermostat/. How can you figure out if this can be replaced with your standard thermostat today? It’s also round, so it doesn’t really fit anywhere with standard EU/Norwegian frames.
So the basic conclusion is that the heatmiser’s thermostats has about everything you need. It’s really easy to replace with the old one. It has a beautiful GUI on the app. It has a lot of features, it has a OK price (or cheap for being a smart-device) and can be integrated with other systems. It’s actually the perfect smarthome device! Heatmiser has created something simple and easy that just works – and should be the template for all other companies creating smarthome devices.
The only downside I can think of, is the “advanced” configuration on the device itself. It’s easy when you understand it, but you need the manual. So the interface on the thermostat itself could have been more intuitive. Most likely you only need to configure it once – so if this keeps the price down, I really don’t have a problem using 5-10 minutes extra this one time to understand the setup.