In Norway, all electricity meter are required to have an AMS-meter with HAN-output. This will allow you to read your power consumption live. For some reason my supplier has not yet implemented this, even though it has been required by law for several of years.
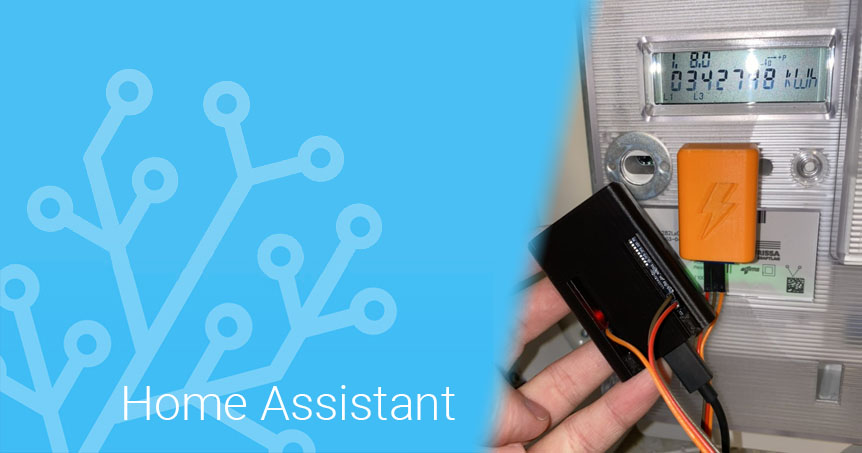
There is where Home Assistant Glow solve the problem. It allows you to read your power consumption from the diode on your electricity meter.
Get started
Under hardware in Github: https://github.com/klaasnicolaas/home-assistant-glow, you find what you need. I bought exactly the same parts, but not the last LED RGB. The LED is used to give you a status, but the Photodiode-card already has a status LED.
You will also need a soldering iron and a 3D-printer.
I could not find any YouTube-video of how to assemble this. As this was my first ESPhome-project, I watched this video to get a better understanding: https://www.youtube.com/watch?v=mj-24SZLQKk
Flashing the ESP32
If you watched the YouTube-video linked above, you will have some understanding of how to flash the ESP32. The Yaml config file is in the Github-repository.
I had some issues here. I had to flash the ESP32 by connecting it to my Home Assistant NUC directly. Anything else would give different type of errors – like when trying to allow serial through my Windows 11 browser.
While writing this, I cant remember if it was the video I linked to or another that says you have to restart ESPhome after plugging in the ESP32. I found that restarting ESPhome after plugging it in created more issues than just don`t restart it.
Another problem is that if you are too eager and have plugged in the photodiode board, the flashing will fail.
Soldering
I just soldered the pins on the dupont jumpers to the ESP32 and connected the female-connectors to the pins on the photodiode-board. The diagram is in the Github-page and the pins are marked, so it’s pretty straight forward.
Testing
At first I just used the flashlight on my phone, to see if registered some light at all – and it did.
Then I tried to mount it on my electricity meter with some tape. After using a lot of tape, trying to turn off the lights, etc… It just didn’t work. There is a potmeter to adjust the sensitivity on the photodiode board, but it either was dead or just unstable.
The next day I got 3D-printed case from a friend. After mounting it in them, it worked right away. So you actually need the 3D-printed case.