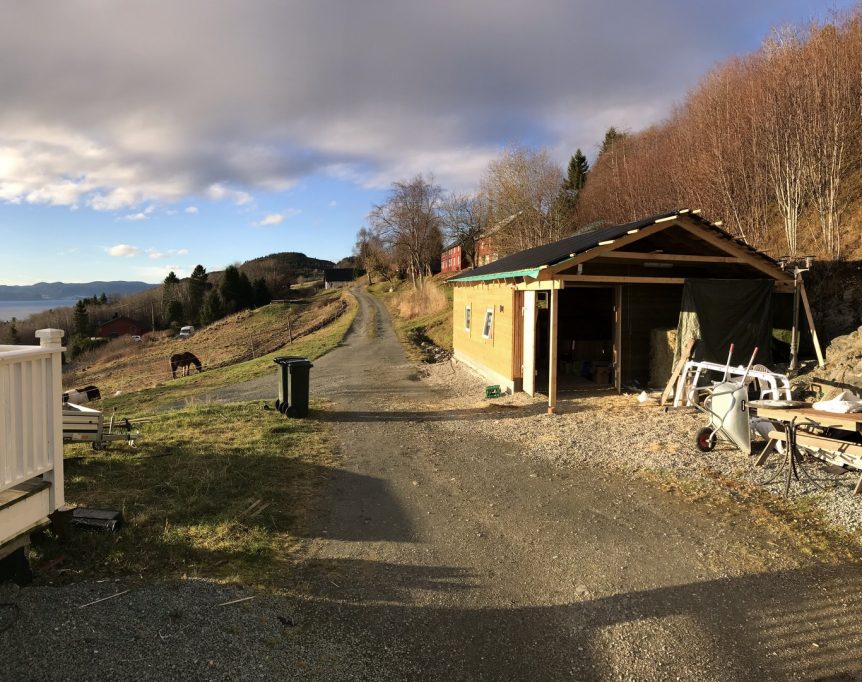
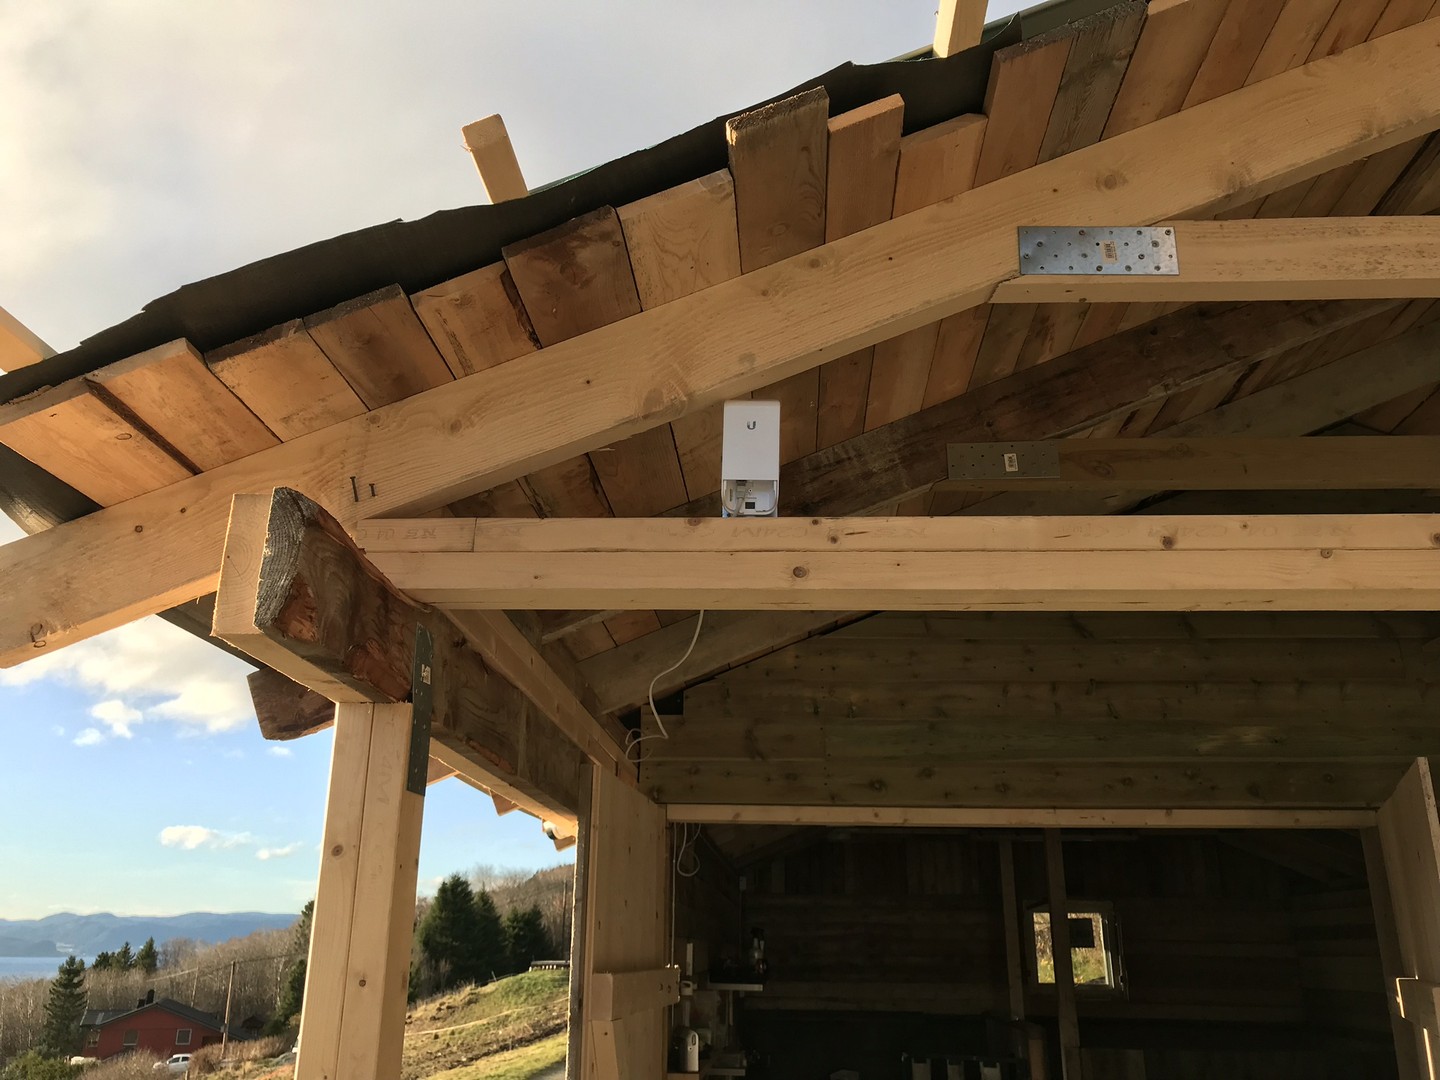
My girlfriend has a horse. The horse needed a house. So we built a house (stable). The stable is about 10 meters from our house.
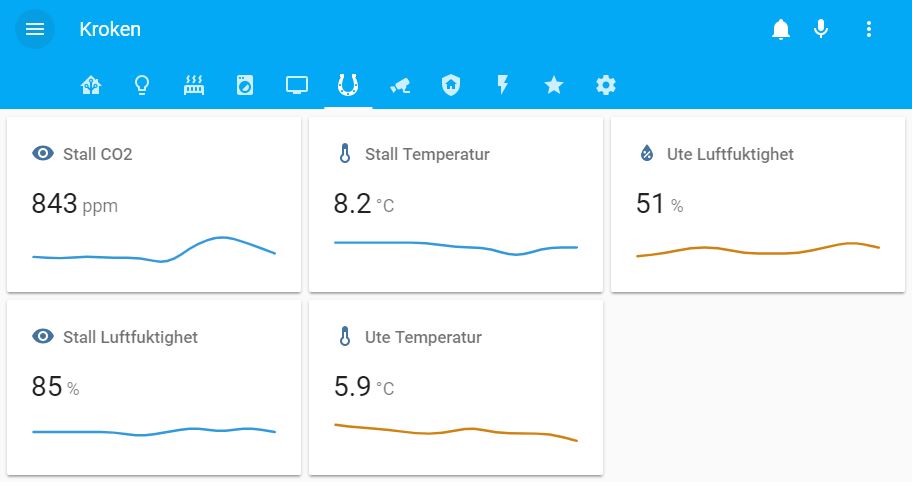
To smartify the stable (controlling lights and monitoring temperature, humidity and CO2) I needed cabled network and a new smarthome-gateway. I already have Home Assistant and a Z-wave network in the house, but the stable is too far, to get a good signal.
While testing the MCO Home was 3 meters away from the Gateway (with a glass door between). That was enough to not get any signals.
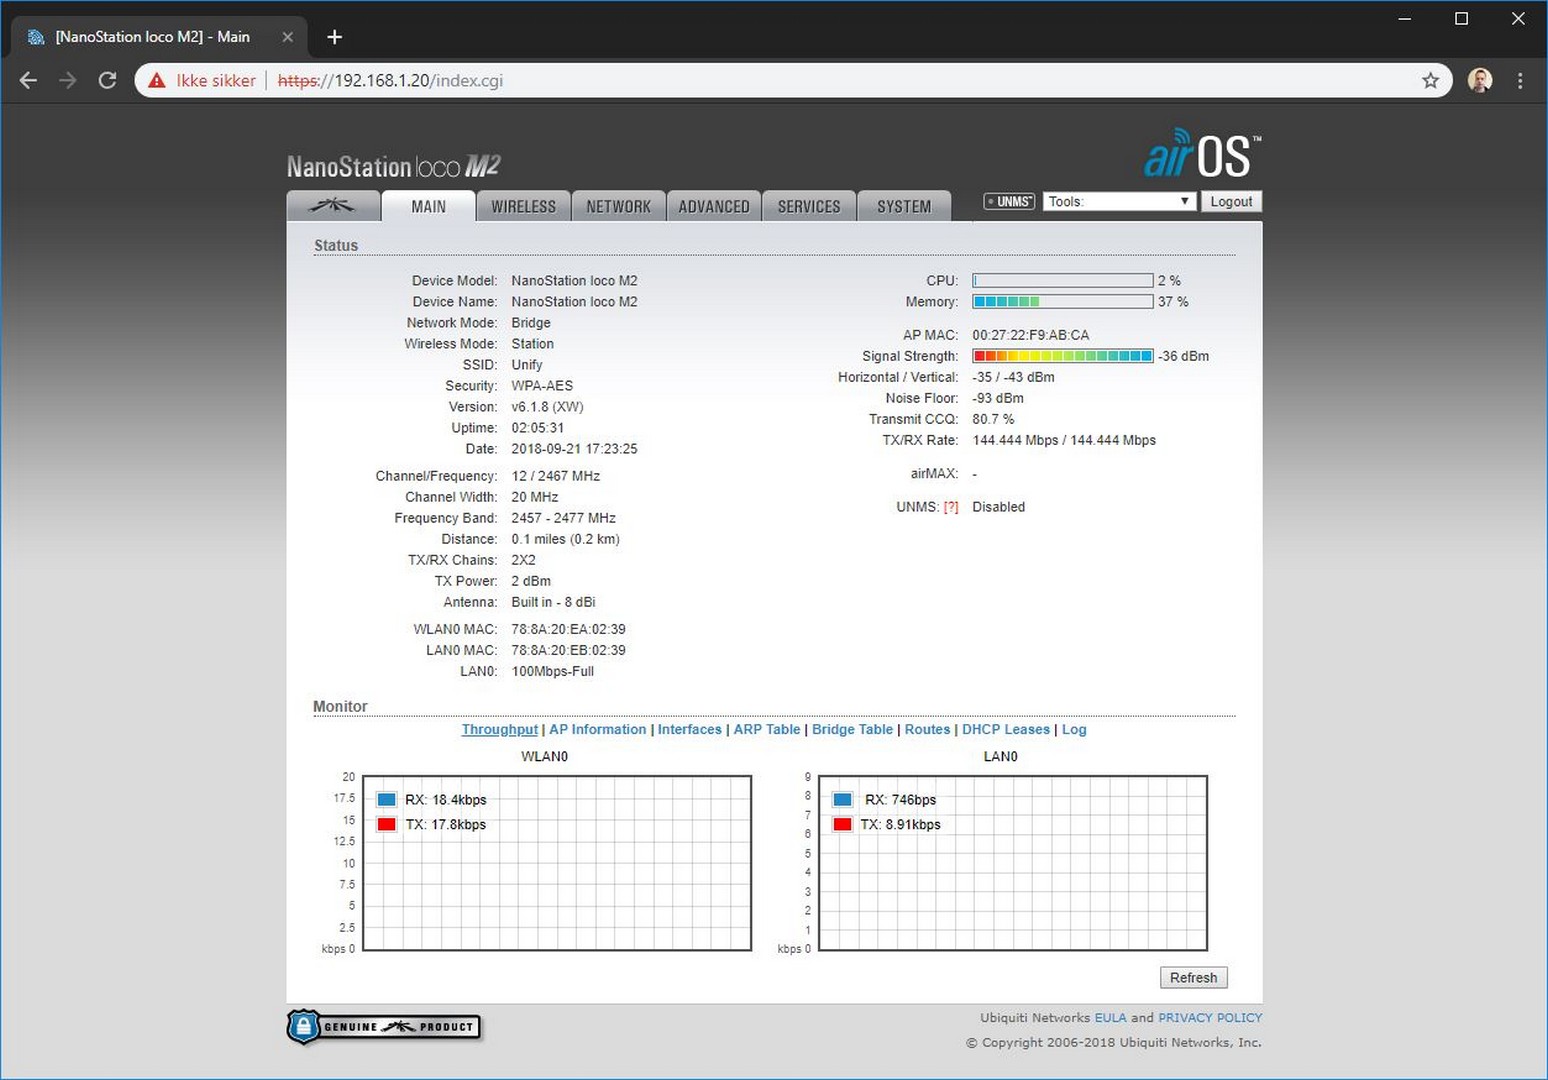
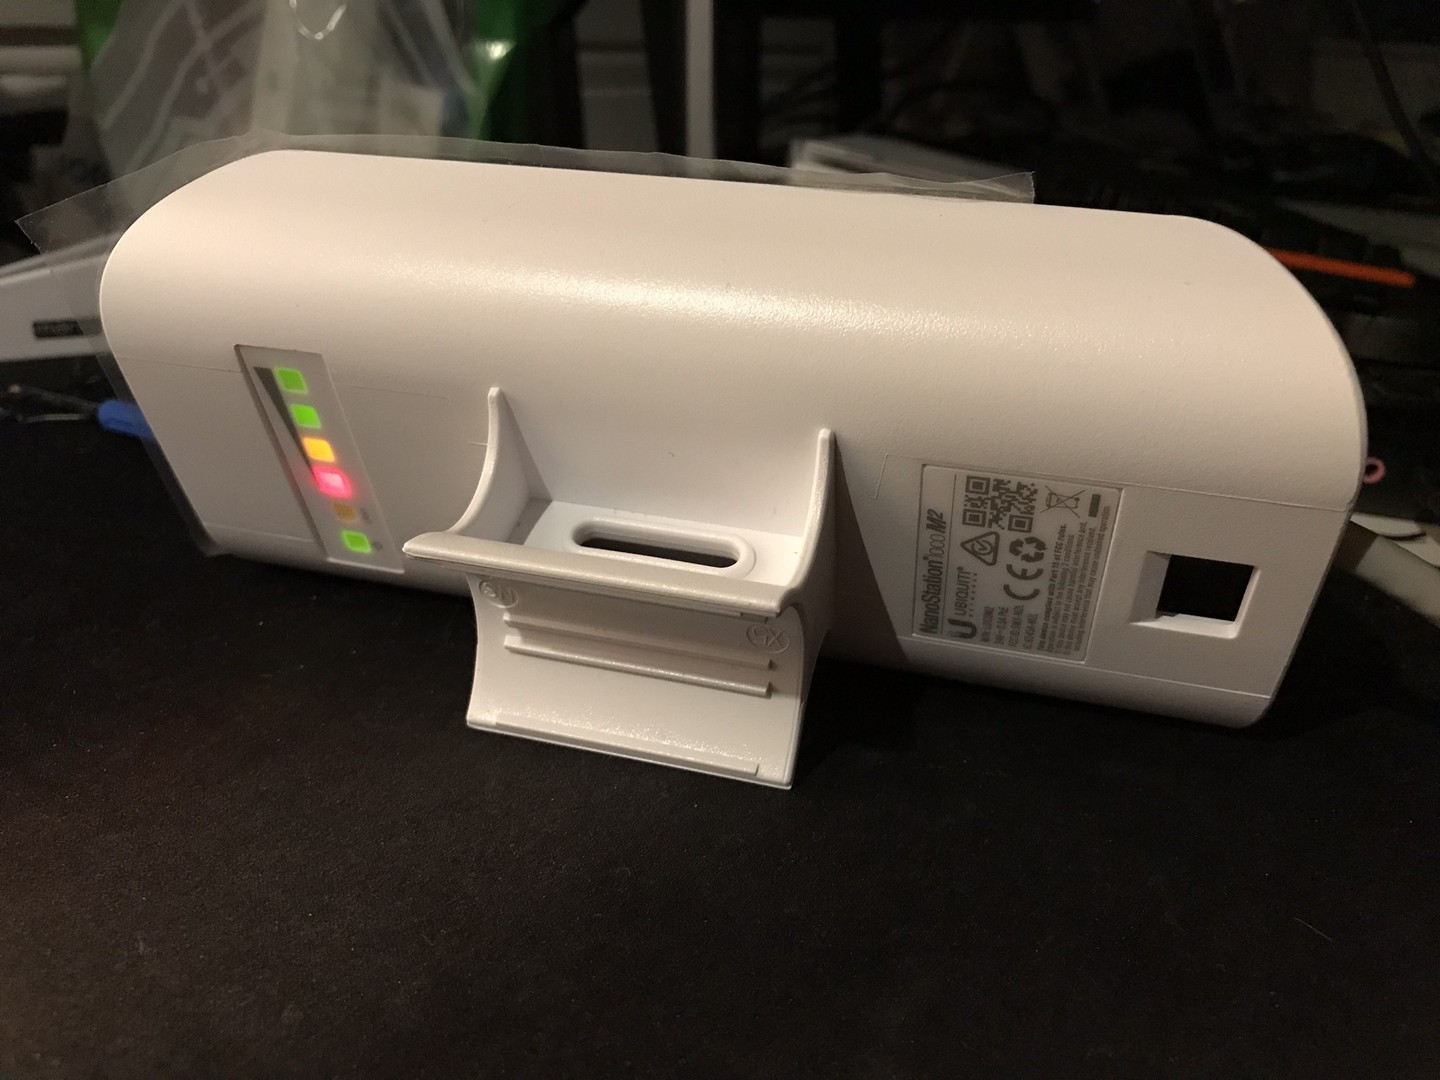
Ubiquiti Nanostation Loco M2
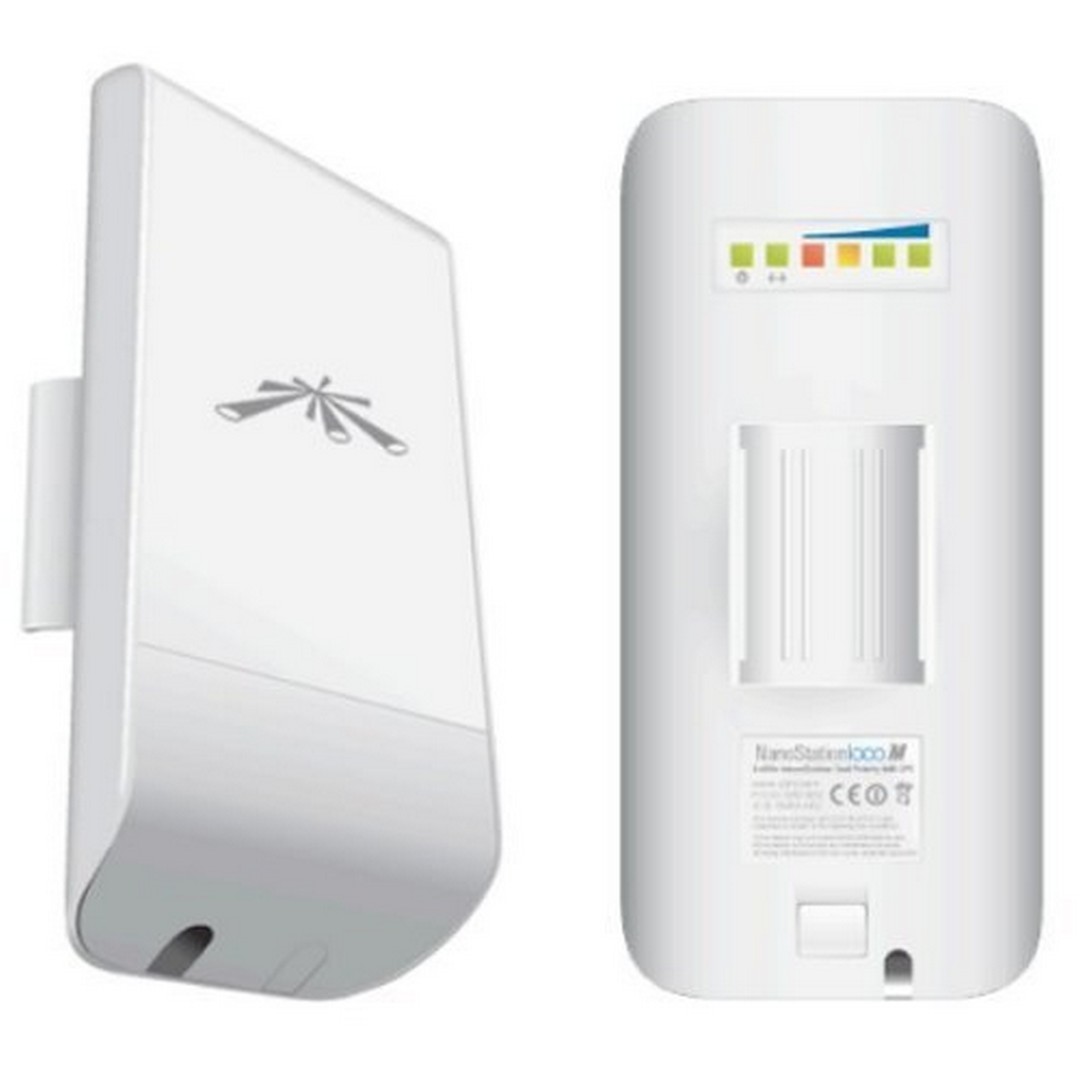
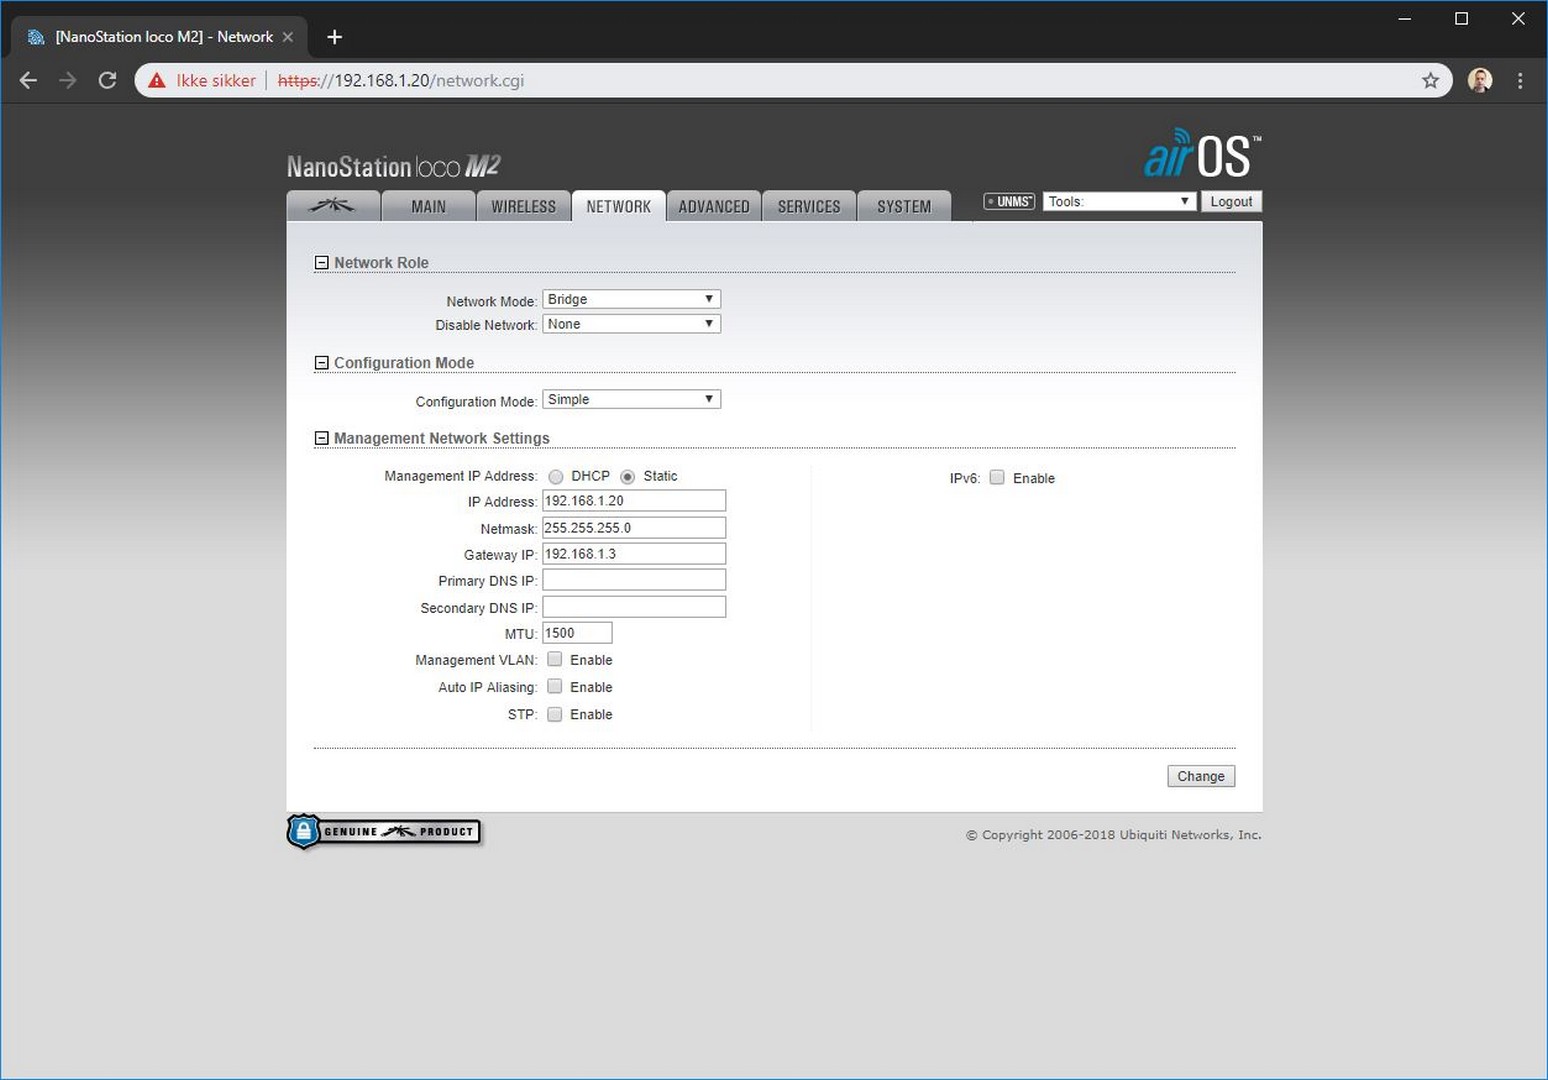
I already have a Unifi USG and Unifi APs, so the Nanostation was a obvious choice. I configured it as a bridge, so I can get cabled local network in the stable. This will allow me to expand to other gadgets in the future, like camera, etc..
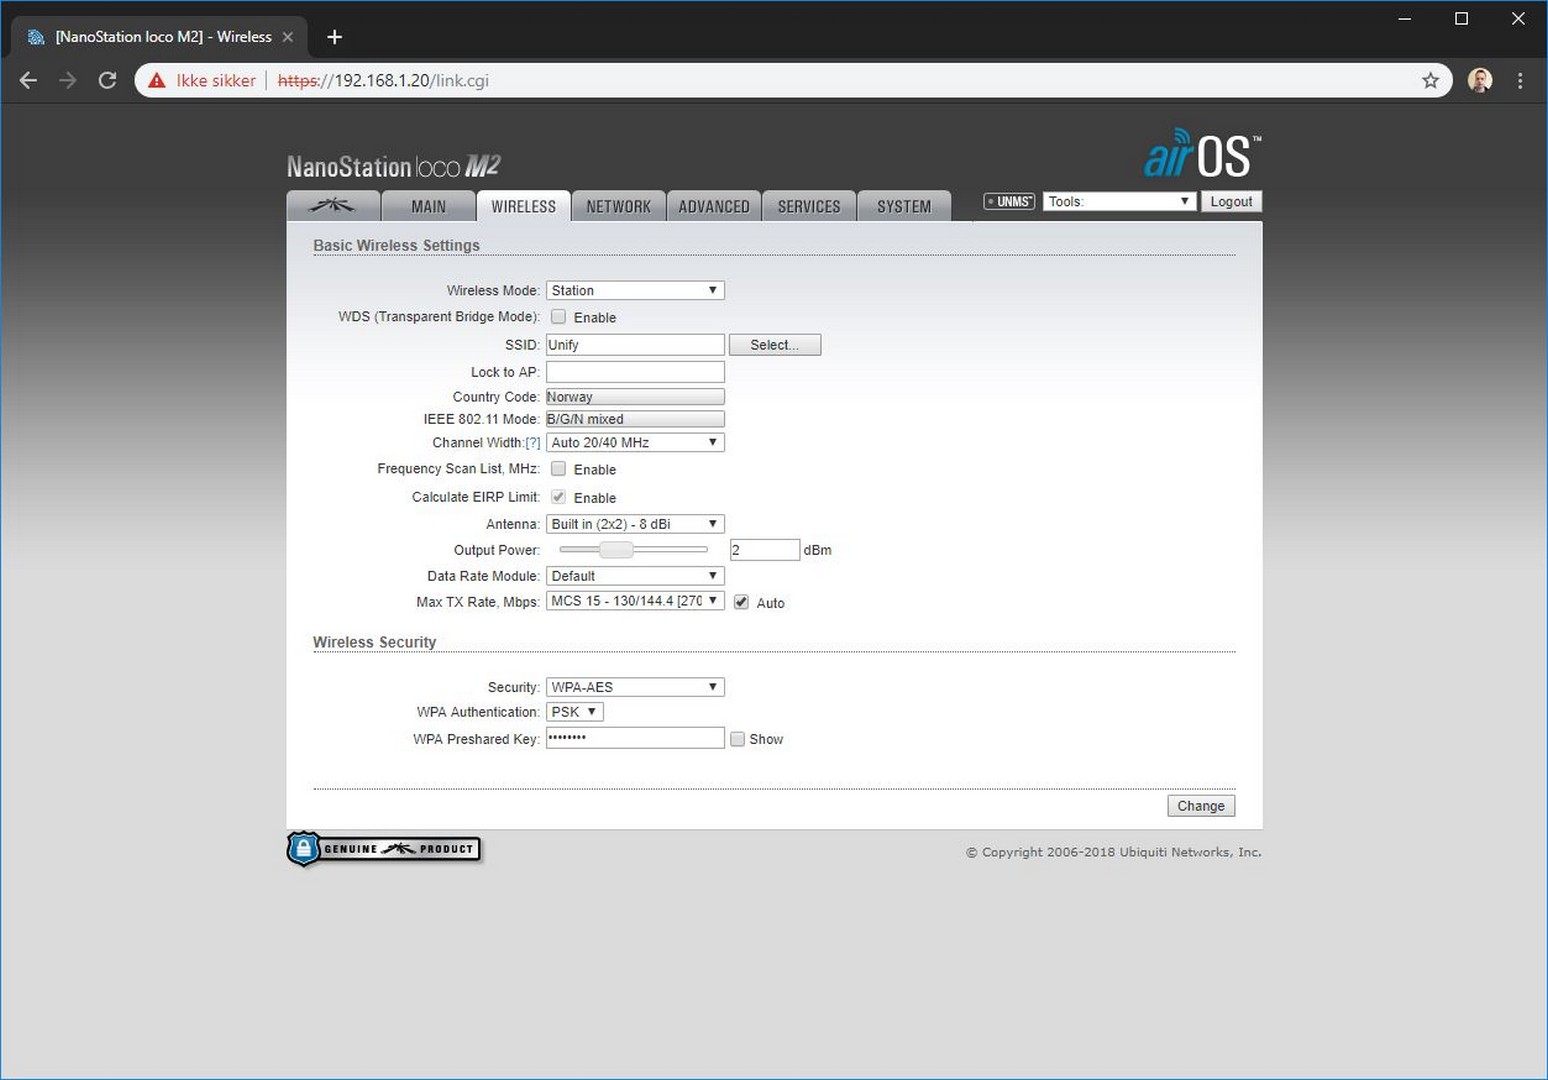
Configuration
Wireless Mode: Station
Network Mode: Bridge

Tellstick and Mco Home Air Quality Monitor Co2
I already had a Tellstick Znet Lite lying around. Home Assistant has a component for Telldus, so this was probably the best and cheapest solution.
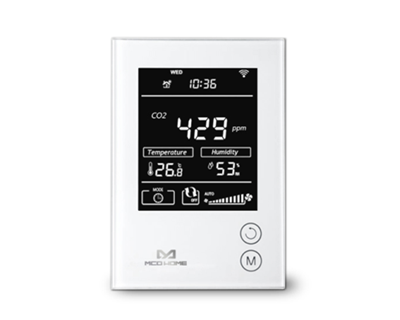
Mco Home Air Quality Monitor Co2
The decision
Then I needed a CO2 monitor. At first I decided to buy another module for my Netatmo. The only problem is that outdoor-module does not have CO2 and the indoor-module does not support temperatures below 0°C.
After some googling, I found the MCO home device, which have a temperature range from -9 to -50℃. Perfect for my conditions.
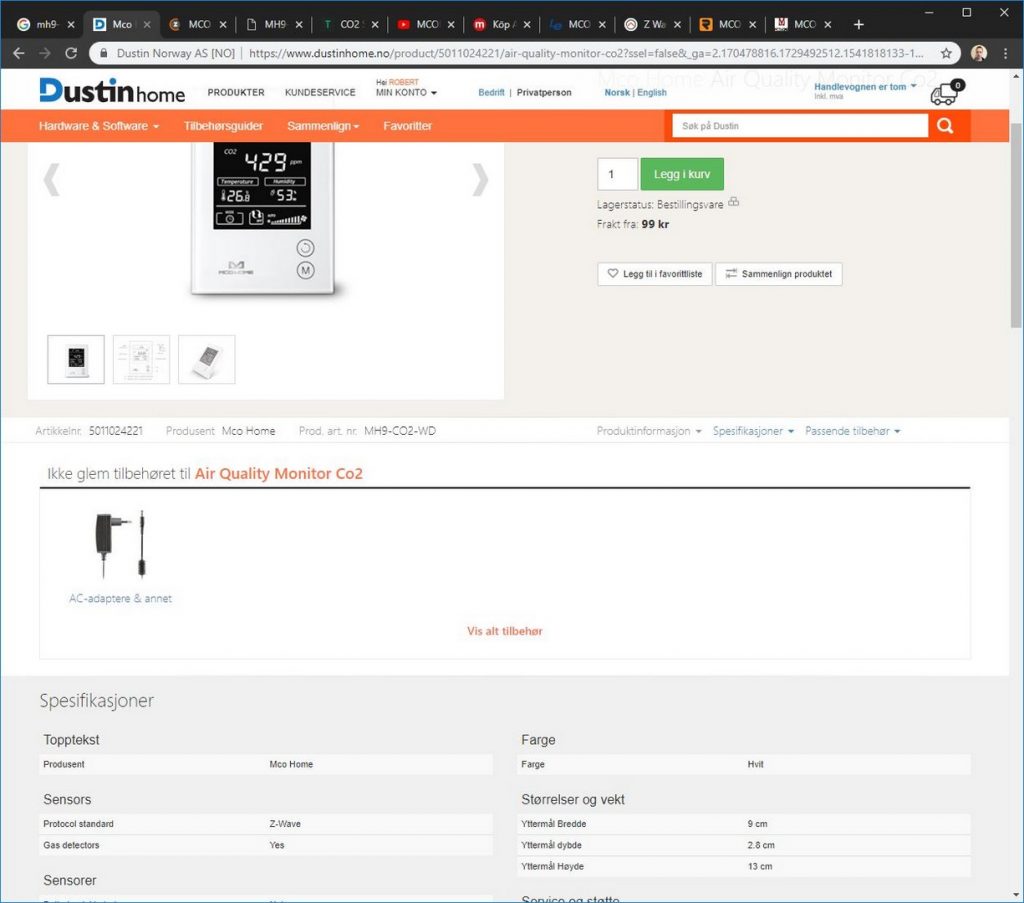
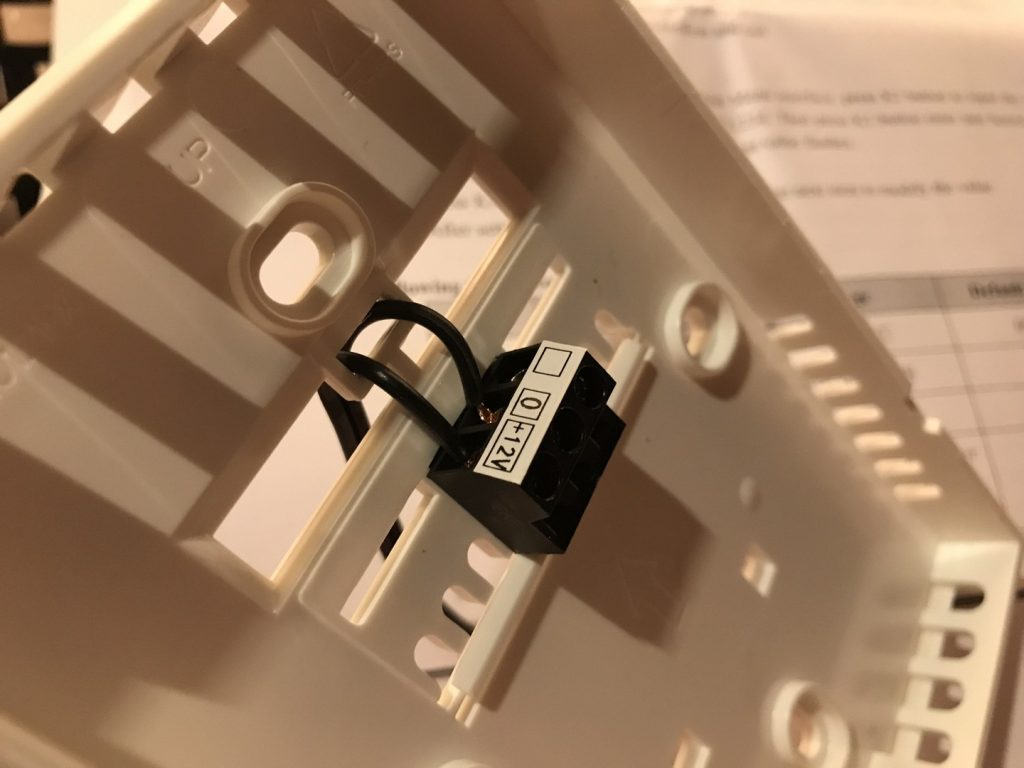
Ordering and connecting the DC power
I ordered mine from dustinhome.no, with a DC adapter. The specification from Dustin was poor at best. The Product information states that the battery is not included, but it does not support batteries. They also have a standard column on their webpage, writing don’t forget the accessories and show the DC adapter. Thinking the DC-adapter has a standard 12V plug and it should be plug and play… But no… Manual in the box does not have any information about connecting the power either. I had to unscrew the casing, but the 12V wire on the adapter and connect it on a screw terminal inside the MCO home. Connecting the +/- wires wrong could brick the device, so make sure to have a voltmeter.


Connecting to Tellstick
Including the MCO Home to the Tellstick was straight forward. Just follow the instructions.

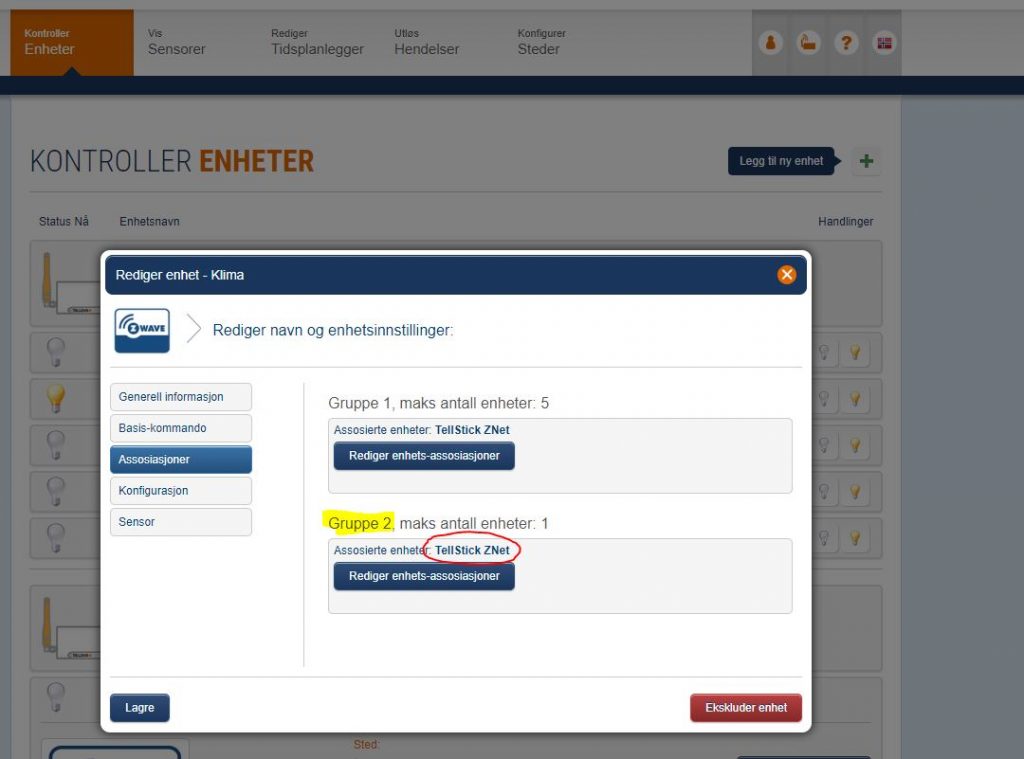
The sensor values will appear on the Sensor-tab. It will show temperature, humidity and a unknown-value. The unknown is the CO2 value.
You also need to associate the MCO home with the Tellstick in group 2.
All remaining, is getting the values in Home Assistant. Easier said than done…
Getting my second Tellstick in Home Assistant
After I was done with everything, the only thing remaining was connecting my second Tellstick in Home Assistant. Easier said than done… The Home Assistant component only allows for one Tellstick at this time.
I could have tried to fix the HA code, but I’m not that familiar with Python, and I had already written a PHP class for the Tellstick local API earlier. So I decided to write a Tellstick-MQTT-docker component. It’s just running as a docker-container beside my HA, fetching the values from Tellstick via the local Network, publishing them on MQTT, where the HA then receives these values.
I published my code here: https://github.com/dico/tellstick_mqtt
In my HA config-file, under sensor, I have this:
– platform: mqtt
state_topic: «tellstick_02/sensor/klima/unknown»
name: «Stall CO2»
unit_of_measurement: ‘ppm’
– platform: mqtt
state_topic: «tellstick_02/sensor/klima/temp»
name: «Stall Temp»
unit_of_measurement: ‘°C’
– platform: mqtt
state_topic: «tellstick_02/sensor/klima/humidity»
name: «Stall Luftfuktighet»
unit_of_measurement: ‘%’