After a power failure today, my ESXi server didn’t boot. I ran my ESXi installation from an USB-stick and the screen just went to black when trying to boot from it.
As my setup is almost default, the easiest fix is just to re-install it from scratch.
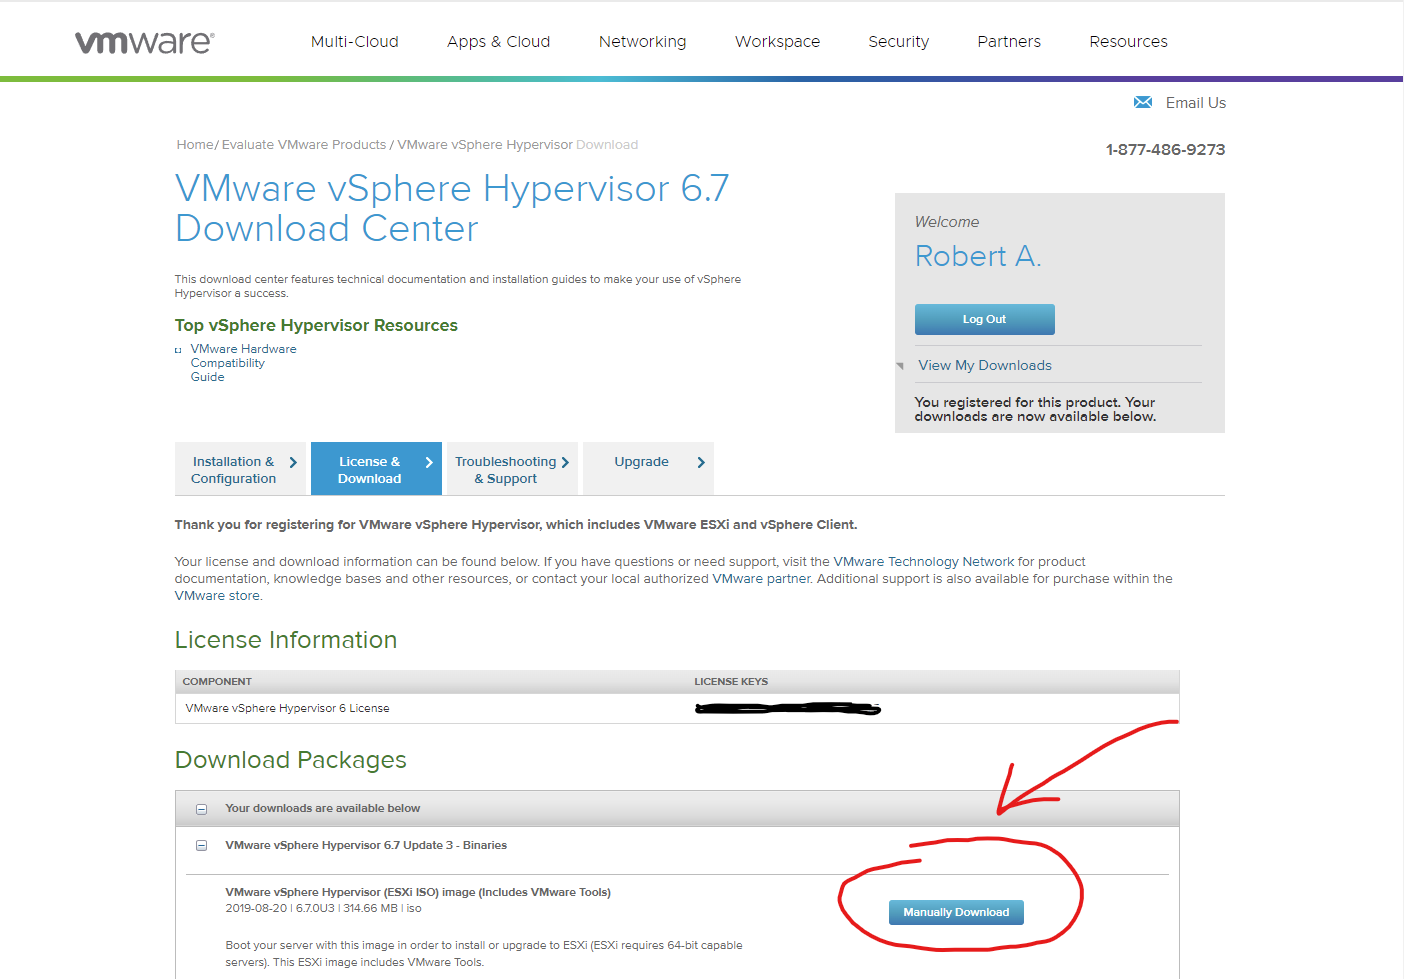
Getting newest available version of ESXi
Look like VMware is still greedy and the current newest version you can download with a «free» license is 6.7 (not 7 which is available).
I downloaded the ISO from this link: https://customerconnect.vmware.com/group/vmware/evalcenter?p=free-esxi6 (You probably have to register a user, but I already had one from earlier).
Create bootable USB
I downloaded and used Rufus to create the USB boot medium.
In Rufus:
- Select the target USB-stick (all data on the USB-stick will be deleted)
- Select the downloaded ESXi ISO-file
- Select MBR on Partition scheme
- Click START
Install on server
I’m installing on a USB-stick instead of a disk – So I had to get another empty USB-stick. I plugged both in the server and booted from the bootable USB-stick I created in Rufus.
All of my installation was next-next-next… I used probably 5-10 minutes to install it. When complete I plugged out the bootable USB-stick, changed boot-order in bios and changed to a static IP when it was booted.
Import VM’s
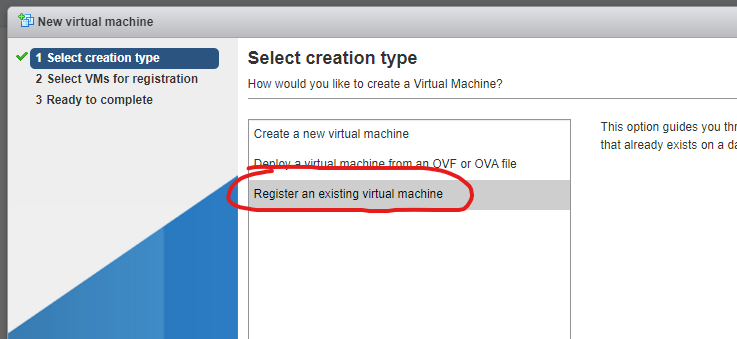
As I already was running an older ESXi on this server, I had to import the old VM’s again.
This was as simple as clicking «Create / Register VM» button and select «Register an existing virtual machine». All I needed to do, was select the old VM’s from the disks.
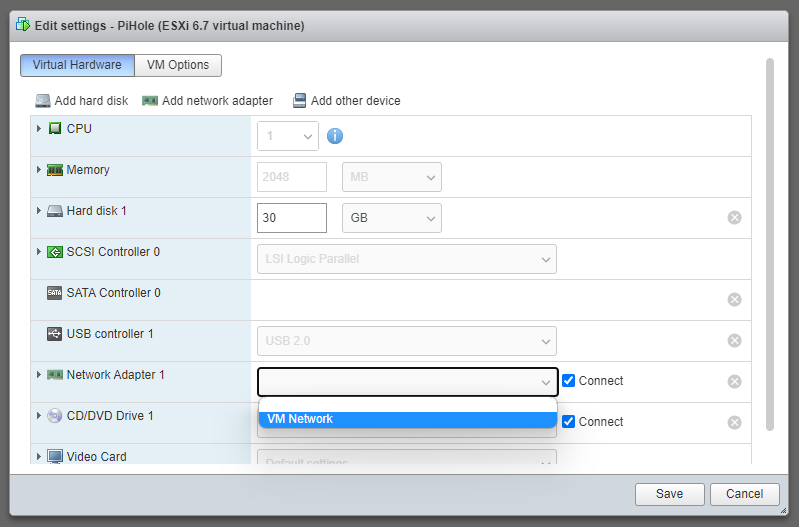
Bugs
On bug that I found, was none of my VM’s had a active network selected on the interfaces. When I selected the default network and clicked save, it didn’t store the selected network. I had to add a new network interface, save, then open setting again to delete the other network device.